I chose a random scenario, and happily it gave me a small one. Larger battles can last hours, as there can be many objectives and troops take time to reach the front. This one began simply: I had a brigade of three regiments and one objective. Rather than marching to it straightaway, I decided to "go for a hike. I intended to give the objective a wide berth, walk around it, and then approach the rebel army from behind. (Players can choose from either side. Since fighting for the Union is less morally ambiguous, I choose it.)
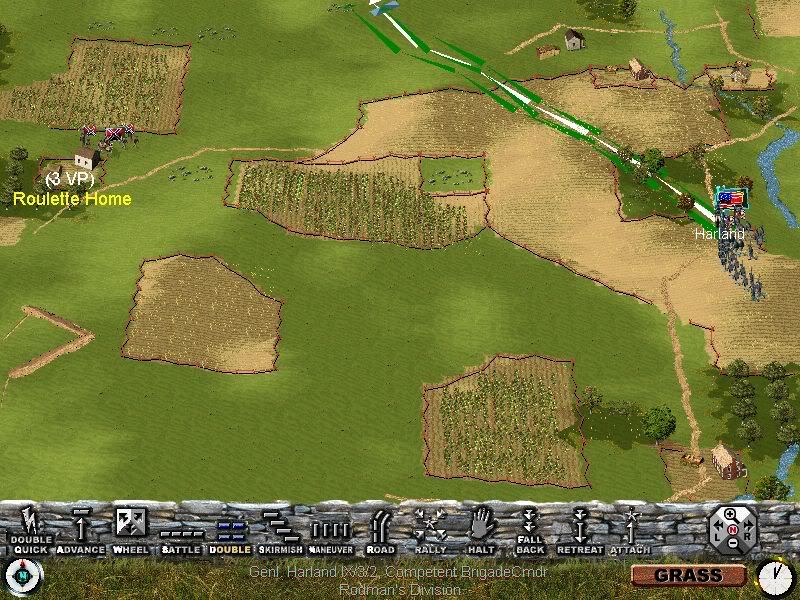
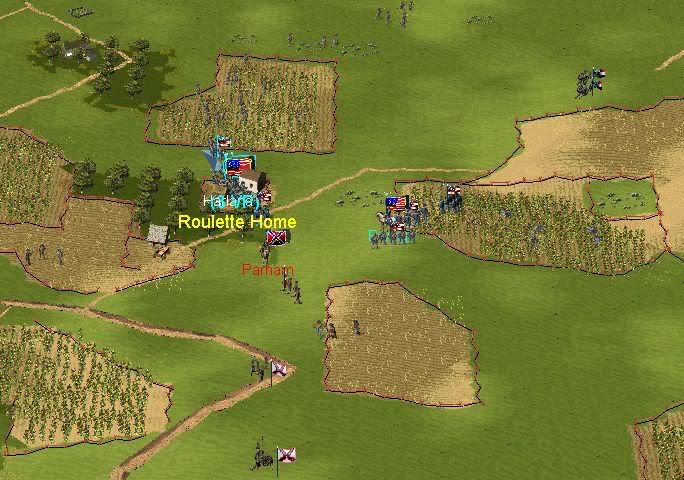
Here you can see my brigade marching. The icons on the bottom allow me to control the selected units' formation and position. There are five general troop formations, as you can see. Being lazy, I tend to use only Battle (when fortifying an objective or when about to meet the rebs) and double (for marching). Near the objective you can see one rebel brigade.
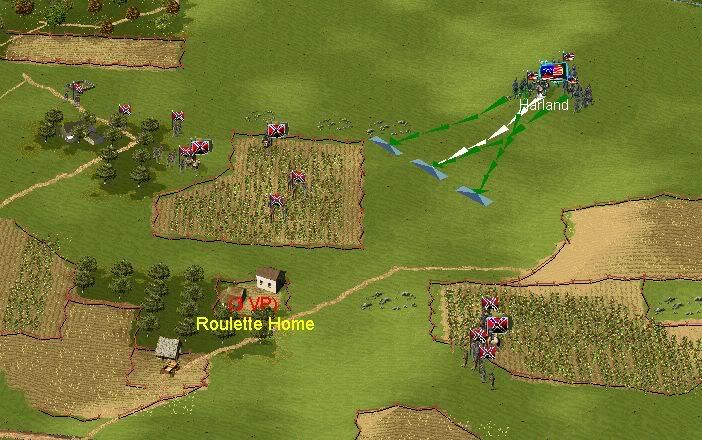
I soon realized that my nature walk scheme wasn't going to work. The rebs had at least two, and it looked like three, brigades at their disposal. Figuring the scenario wouldn't ask me to take an objective when so badly outnumbered. I arranged for my troops to deploy on the hill. There they could both defend themselves and be close to the objective if an opportunity opened up.
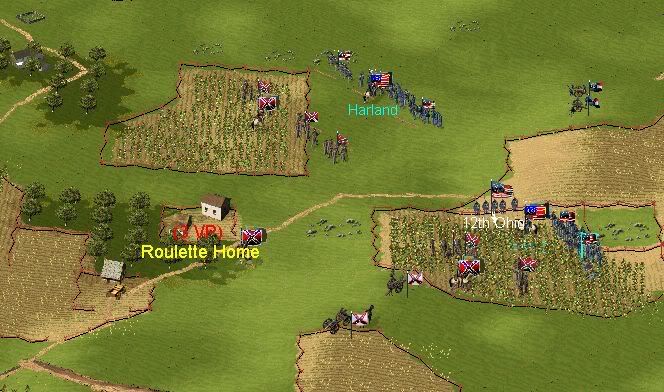
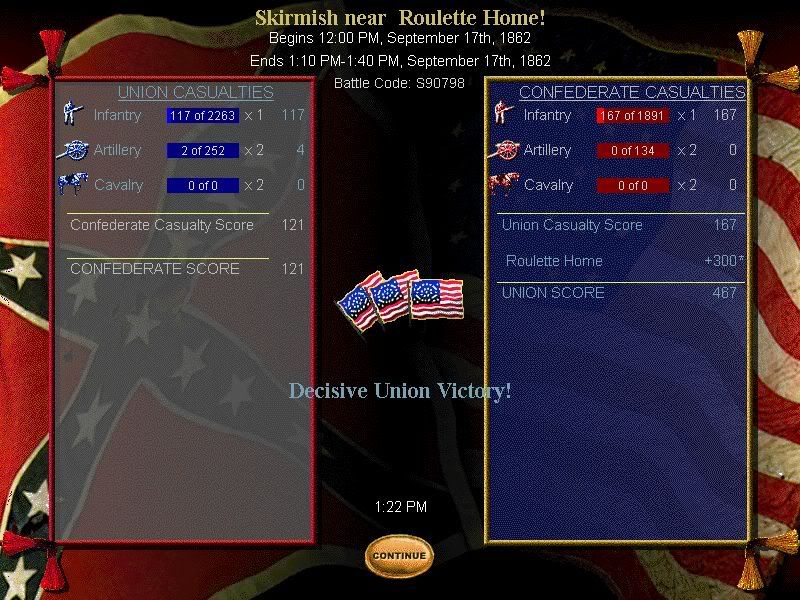
A rebel regiment on the southern commander's left flank routed, and I shifted my regiments around to press my advantange. Soon Ewing's men could fire on the confederate brigade from two directions -- good for me, bad for them. They soon routed in full, and Ewing received new orders: assist Harland.
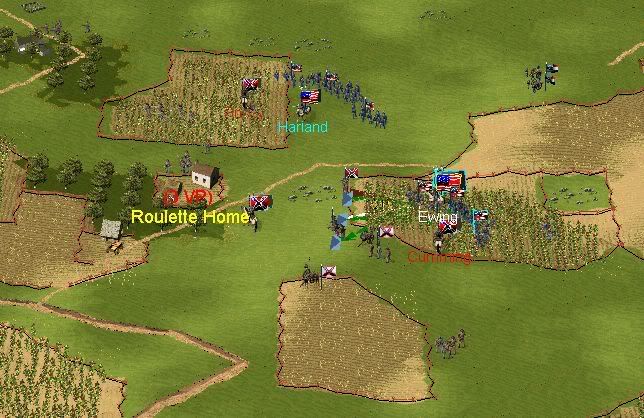
Ewing met with Harland and the second brigade of southrons were forced to flee. You may be able to see little grey figures running across the countryside. Those same figures will fall to the ground if they are killed, so pitched battles can look to be morbid affairs.

No comments:
Post a Comment